Hi, I'm Carol and I have enjoyed creating bottle cap graphic for years now. I
have had several people ask me, What's bottle cap art? Well, its the artwork or graphics I have created for others to make their own necklaces with. But, it doesn't end there. You can make magnets, bracelets, stickers anything you can dream up using my collage sheet graphics. Here's a quick tutorial I've put together on how to make a bottle cap necklace.
have had several people ask me, What's bottle cap art? Well, its the artwork or graphics I have created for others to make their own necklaces with. But, it doesn't end there. You can make magnets, bracelets, stickers anything you can dream up using my collage sheet graphics. Here's a quick tutorial I've put together on how to make a bottle cap necklace.
List of items needed:
1 - DIY bottle cap necklace set
1- 1 circle collage set, printed
1" Circle punch (optional)
Glue
1 - DIY bottle cap necklace set
1- 1 circle collage set, printed
1" Circle punch (optional)
Glue
 |
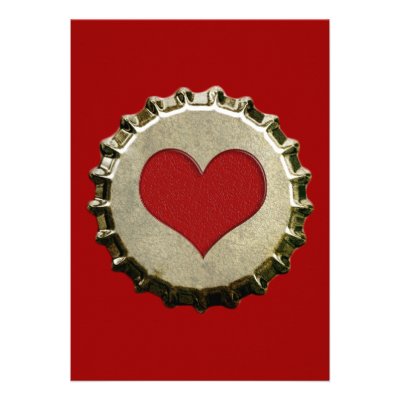
1. DIY bottle cap necklace set - I found a lady online that sells this kit, which includes 1 flat bottle cap necklace and an adhesive epoxy seal. This makes the project so easy, your kids will love making these with you! The bottle cap has been flattened, drilled with a split ring and attached to an 18" ball chain.
2. 1" circle collage set, printed - I create my sets in a 300 dpi high resolution 4" x 6" .jpg file so that you can either print yourself, upload the photo to an online service such as Wal-mart.com or Walgreens.com have it printed and ready to pick up or save the file and take to any of your local photo labs for printing. If you print yourself, you can use any paper you like. I have a color inkjet printer and like to use photo paper. The colors come out much richer than on copier paper or cardstock. Note: if printing yourself, you will need to set your paper size to 4" x 6" in order for the circles to come out to be 1".
|
| 3. You will need to trim off a little from the collage sheet edge to get the circle punch into lined up properly. I design my circles with a hairline over so that you can line up the design and not cut off any of the design. |  |
 | 4. 1" Circle punch. I purchased a Fiskars? brand, which is nice because it has a squeeze handle and if you are going to be making quite a few of these, your thumb will thank you. You do not have to use circle punch, but it is a nice perfect edge. You can cut a little inside the design with a nice sharp pair of scissors. |
5. Glue - In my example I am using Tacky Glue, because that's what I have, but if you want something that is fast drying, the lady I purchased the kit from recommends quick dry adhesive by 3M. Just use a little on the back of the image, press your image down onto the bottle cap then just place the epoxy seal on top by lining it up at the edges of your image. |  |
That's it...super easy...super cute and super affordable!
FAQ
Q: My images are printing out larger than 1" circles. What am I doing wrong?
FAQ
Q: My images are printing out larger than 1" circles. What am I doing wrong?
A: I create my images in a 4" x 6" format. You need to set your printer to print paper size 4" x 6".
Q: Can I sell your images on bottle cap necklaces?
A: Yes, you may print out my images and sell them in the form of bottle cap necklaces, stickers, bow centers, etc. You may not share nor sell the .jpg file that you receive from me nor can you take my images, make changes to them and sell or share with others.
If you have any further questions, please email me tictactogs@yahoo.com
Here are some resources for supplies: